Introduction to 3D Printing#

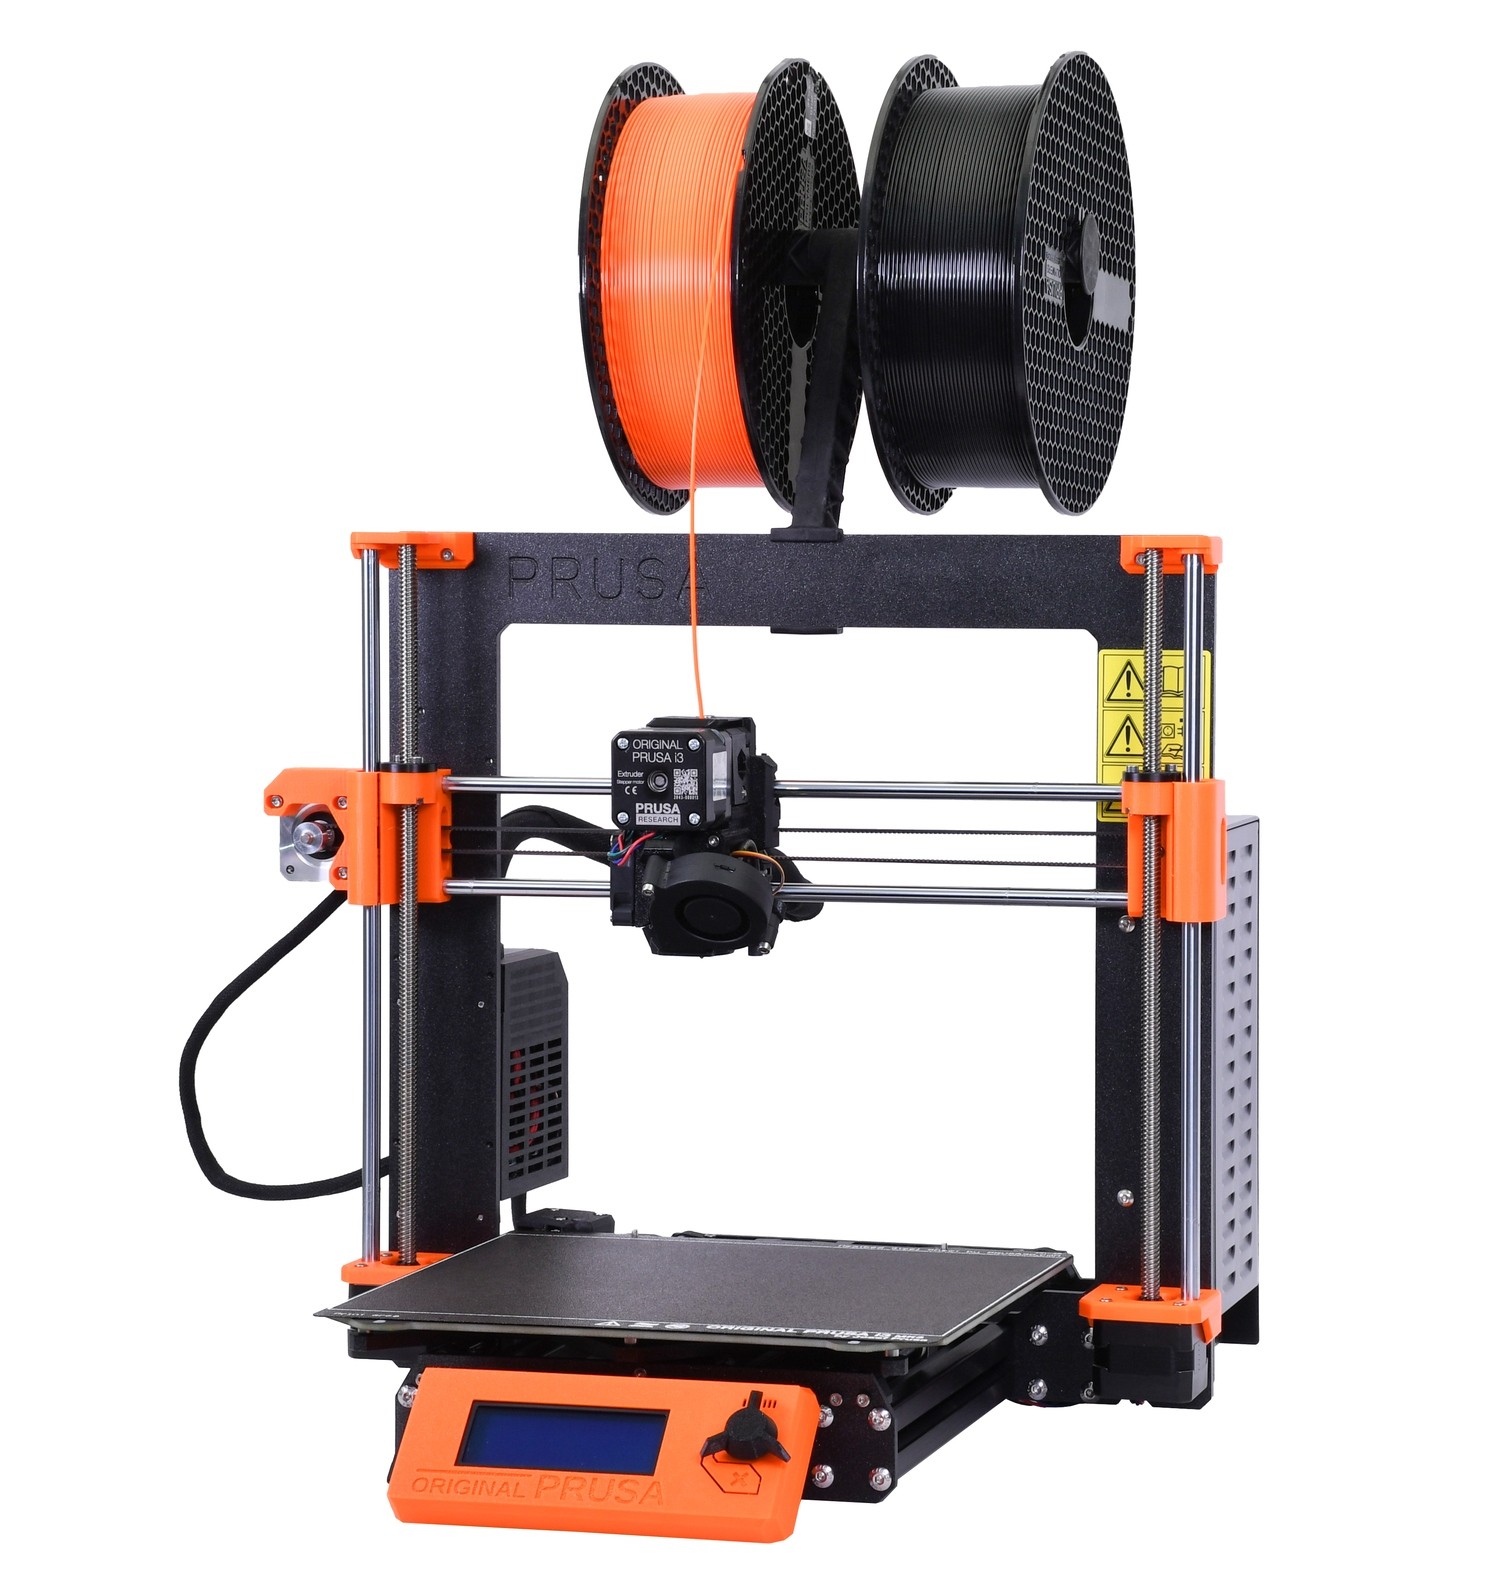
The club currently uses 2 Prusa i3 Mk3S printers for its 3D Printing needs. This printer is a FFF/FDM 3D Printer. Generally this involves splitting a 3D model into many layers, usually 0.1mm to 0.3mm thick and "draws" each layer by extruding plastic through a small nozzle, usually 0.4mm in diameter.
To learn more about 3D Printing and additive manufacturing, take 30.303 Industry 3.0 & 3D Printing in Term 7. Or just search it up online.
Rationale behind how we use 3D Printing#
Generally the aim is to maximise the uptime of the 3D Printer and reduce the amount of time spent calibrating settings or troubshooting.
Do#
- Use the inbuilt slicer settings on PrusaSlicer
- Use Prusament as much as possible
- Create profiles for 3rd party filaments not already inside PrusaSlicer
- Dry filament using the dryer and store filament in air-tight containers
- Check that correct filament is chosen and loaded into the printer before printing
Don't#
- Use unbranded filament
- Use filament with bad manufacturing tolerances that require manual calibration for each new roll of filament
- Attempt to service the printer without reading the instruction manual first
Basic FDM slicing settings#
Line Thickness#
Usually this corresponds to nozzle diameter which is usually 0.4mm.
Line thickness can be larger than the nozzle diameter but never smaller
Layer Height#
Default is 0.2mm.
Smaller layer heights results in better visual quality and better tolerances but results in drastically longer printing time. Use this if you require higher accuracy or pretty prints.
Do not do this just to waste time. The 3D Printer is a shared resource.
Larger layer heights result in poorer quality but shorter print times. We generally use this for testing out parts before the final part print.
Infill Pattern#
Default is gyroid. This pattern provides somewhat better impact resistance and springyness for flexible parts. However it takes slightly longer to print than other infill patterns.
For prototyping, generally other patterns such as cubic provides just as much strength while being faster to print
Generate supports#
Default is none.
Turn this on if your part has overhangs/ledges or generally any kind of structure with large empty space below it. Two options are available
- Only on buildplate
- Everywhere
The options should be self explanatory in their functions.
Perimeters#
Default number of perimeters is 2, corresponding to a 0.8mm wall thickness.
Increase this if you require more strength in your 3D printed part.
Top/Bottom layers#
Default number is 3 or 4 layers
Increase this if you require more strength in your 3D printed part
Things to note#
3D Printed parts are generally much stronger in the X or Y direction than in the Z direction. Keep this in mind when you are designing the part and slicing it in the slicer. This is because it takes much less force to pull individual layers apart than to break each layer apart.
For more information, take 30.001 Structures and Materials in Term 4